Table of Contents
Zero or unstable readings usually arise from process condition, pipe data, sensor installation or signal quality. A layered diagnosis prevents unnecessary replacement. For ultrasonic flow meter troubleshooting, begin with “Confirm the Process State” and then “Audit Entered Pipe Data.” Together, “Confirm the Process State” and “Audit Entered Pipe Data” define the ultrasonic flow meter troubleshooting evidence needed before “Inspect Transducer Orientation and Spacing.”
After “Inspect Transducer Orientation and Spacing,” the ultrasonic flow meter troubleshooting workflow continues to “Renew Surface Preparation and Coupling” and ends at “Trace Outputs Separately.” The move from “Inspect Transducer Orientation and Spacing” to “Trace Outputs Separately” explains the ultrasonic flow meter troubleshooting logic behind this H1.
Confirm the Process State
Verify valves, pump operation, pipe fullness and expected direction. Ask whether flow is genuinely stable before diagnosing the instrument. Close “Confirm the Process State” with a named ultrasonic flow meter troubleshooting owner. For “Confirm the Process State,” keep its photographs, configuration export and “Confirm the Process State” comparison readings.
- Verify pipe fullness and expected direction.
- Document ask whether flow is genuinely stable before diagnosing the instrument.
Audit Entered Pipe Data
Recheck outside diameter, wall, lining, material, fluid and units. Do not rely on a previous setup file without field confirmation. For “Audit Entered Pipe Data,” the ultrasonic flow meter troubleshooting team ties assumptions to field evidence. Its “Audit Entered Pipe Data” record names the source, unit and “Audit Entered Pipe Data” exception owner.
- Verify recheck outside diameter.
- Document do not rely on a previous setup file without field confirmation.
Inspect Transducer Orientation and Spacing
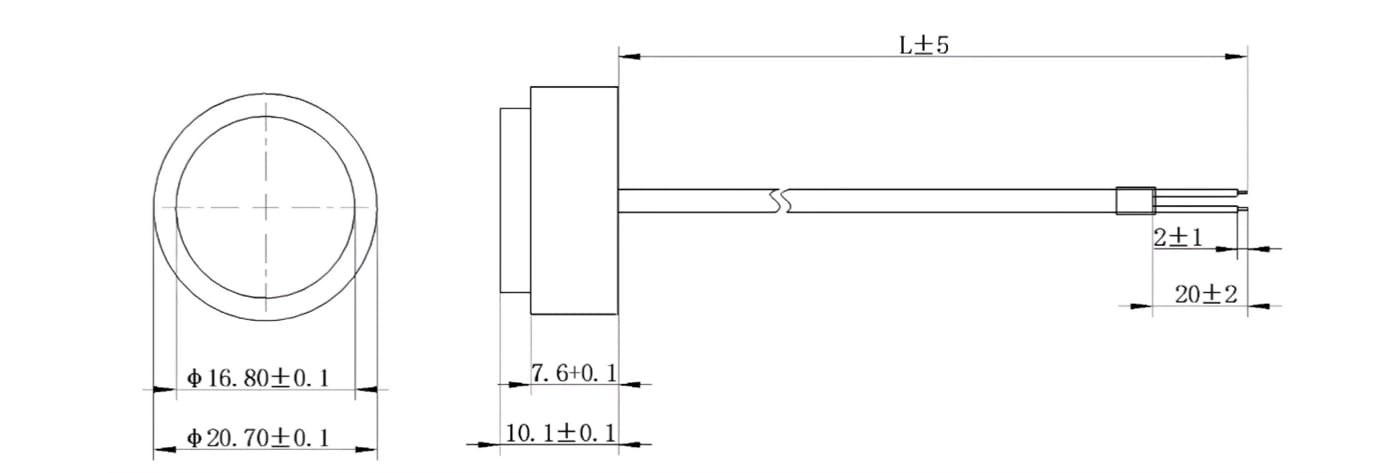
Confirm upstream/downstream direction, path mode, measured spacing and alignment. Small placement errors matter more on difficult pipes. Use drawings and measurements to complete “Inspect Transducer Orientation and Spacing” in ultrasonic flow meter troubleshooting. A written “Inspect Transducer Orientation and Spacing” decision keeps installation and operations aligned.
- Verify confirm upstream/downstream direction.
- Document measured spacing and alignment.
- Compare small placement errors matter more on difficult pipes.
Renew Surface Preparation and Coupling
Remove loose scale or coating, clean the contact area and apply fresh couplant. Secure sensors so vibration cannot change pressure. A plausible “Renew Surface Preparation and Coupling” result can hide a ultrasonic flow meter troubleshooting error. Store “Renew Surface Preparation and Coupling” limits, test conditions and exception ownership.
- Verify remove loose scale or coating.
- Document clean the contact area and apply fresh couplant.
- Compare secure sensors so vibration cannot change pressure.
Read Diagnostics, Not Only Flow
Trend signal strength, quality, gain and transit-time indicators. A numeric flow displayed with marginal diagnostics is not proof of a sound measurement. Share “Read Diagnostics, Not Only Flow” evidence with the ultrasonic flow meter troubleshooting stakeholders. If “Read Diagnostics, Not Only Flow” misses its basis, revise the “Read Diagnostics, Not Only Flow” selection and record why.
- Verify trend signal strength.
- Document gain and transit-time indicators.
- Compare a numeric flow displayed with marginal diagnostics is not proof of a sound measurement.
Investigate Bubbles, Solids and Lining
Look for pump suction leaks, aeration, intermittent empty pipe, heavy suspended material or detached lining that interrupts the acoustic path. Give “Investigate Bubbles, Solids and Lining” a dedicated ultrasonic flow meter troubleshooting acceptance test. Preserve “Investigate Bubbles, Solids and Lining” values and diagnostics for a repeatable “Investigate Bubbles, Solids and Lining” check.
- Verify look for pump suction leaks.
- Document intermittent empty pipe.
- Compare heavy suspended material or detached lining that interrupts the acoustic path.
Check Zero and Direction Settings
Establish true no-flow conditions before zero adjustment. A leaking bypass or thermal circulation can make a forced zero create bias. Treat “Check Zero and Direction Settings” as a complete ultrasonic flow meter troubleshooting decision. Recheck “Check Zero and Direction Settings” against ultrasonic flow meter troubleshooting pipework, controls, interfaces and service access.
- Verify establish true no-flow conditions before zero adjustment.
- Document a leaking bypass or thermal circulation can make a forced zero create bias.
Trace Outputs Separately
If the display is correct but the control system is wrong, inspect scaling, units, current-loop range, pulse value or register mapping. Change one “Trace Outputs Separately” variable at a time during ultrasonic flow meter troubleshooting diagnosis. The “Trace Outputs Separately” baseline separates “Trace Outputs Separately” hardware, process and installation causes.
- Verify if the display is correct but the control system is wrong.
- Document current-loop range.
- Compare pulse value or register mapping.
Confirm the Process State Decision Table
| Decision | Evidence | Release condition |
|---|---|---|
| Confirm the Process State | Verify valves, pump operation, pipe fullness and expected direction | Release “Confirm the Process State” only after its ultrasonic flow meter troubleshooting evidence is accepted |
| Audit Entered Pipe Data | Recheck outside diameter, wall, lining, material, fluid and units | Release “Audit Entered Pipe Data” only after its ultrasonic flow meter troubleshooting evidence is accepted |
| Inspect Transducer Orientation and Spacing | Confirm upstream/downstream direction, path mode, measured spacing and alignment | Release “Inspect Transducer Orientation and Spacing” only after its ultrasonic flow meter troubleshooting evidence is accepted |
| Renew Surface Preparation and Coupling | Remove loose scale or coating, clean the contact area and apply fresh couplant | Release “Renew Surface Preparation and Coupling” only after its ultrasonic flow meter troubleshooting evidence is accepted |
| Read Diagnostics, Not Only Flow | Trend signal strength, quality, gain and transit-time indicators | Release “Read Diagnostics, Not Only Flow” only after its ultrasonic flow meter troubleshooting evidence is accepted |
Five Questions About “Trace Outputs Separately”
Which “Confirm the Process State” check comes first for ultrasonic flow meter troubleshooting?
Verify valves, pump operation, pipe fullness and expected direction. Ask whether flow is genuinely stable before diagnosing the instrument.
Why does audit entered pipe data affect ultrasonic flow meter troubleshooting?
Recheck outside diameter, wall, lining, material, fluid and units. Do not rely on a previous setup file without field confirmation.
How should check zero and direction settings be verified?
Establish true no-flow conditions before zero adjustment. A leaking bypass or thermal circulation can make a forced zero create bias.
When must the ultrasonic flow meter troubleshooting basis be reviewed?
Review ultrasonic flow meter troubleshooting when inputs to “Confirm the Process State,” “Renew Surface Preparation and Coupling” or “Check Zero and Direction Settings” change.
Which details support “Audit Entered Pipe Data” in ultrasonic flow meter troubleshooting?
For ultrasonic flow meter troubleshooting, provide the inputs for “Confirm the Process State,” the constraints from “Audit Entered Pipe Data” and the evidence expected under “Check Zero and Direction Settings.”
Before approving “Confirm the Process State,” revisit its project assumptions. Verify valves, pump operation, pipe fullness and expected direction. Ask whether flow is genuinely stable before diagnosing the instrument. Record the resulting “Confirm the Process State” decision and any site-specific “Confirm the Process State” exception.
Before approving “Audit Entered Pipe Data,” revisit its project assumptions. Recheck outside diameter, wall, lining, material, fluid and units. Do not rely on a previous setup file without field confirmation. Record the resulting “Audit Entered Pipe Data” decision and any site-specific “Audit Entered Pipe Data” exception.
Before approving “Inspect Transducer Orientation and Spacing,” revisit its project assumptions. Confirm upstream/downstream direction, path mode, measured spacing and alignment. Small placement errors matter more on difficult pipes. Record the resulting “Inspect Transducer Orientation and Spacing” decision and any site-specific “Inspect Transducer Orientation and Spacing” exception.
Before approving “Renew Surface Preparation and Coupling,” revisit its project assumptions. Remove loose scale or coating, clean the contact area and apply fresh couplant. Secure sensors so vibration cannot change pressure. Record the resulting “Renew Surface Preparation and Coupling” decision and any site-specific “Renew Surface Preparation and Coupling” exception.
Technical references for “Confirm the Process State” include USBR Water Measurement Manual for “Confirm the Process State”, US DOE Pumping Systems for “Audit Entered Pipe Data”, ASME Standards for “Inspect Transducer Orientation and Spacing”, NIST Fluid Metrology for “Renew Surface Preparation and Coupling”. The project specification should name the applicable edition and local rules.
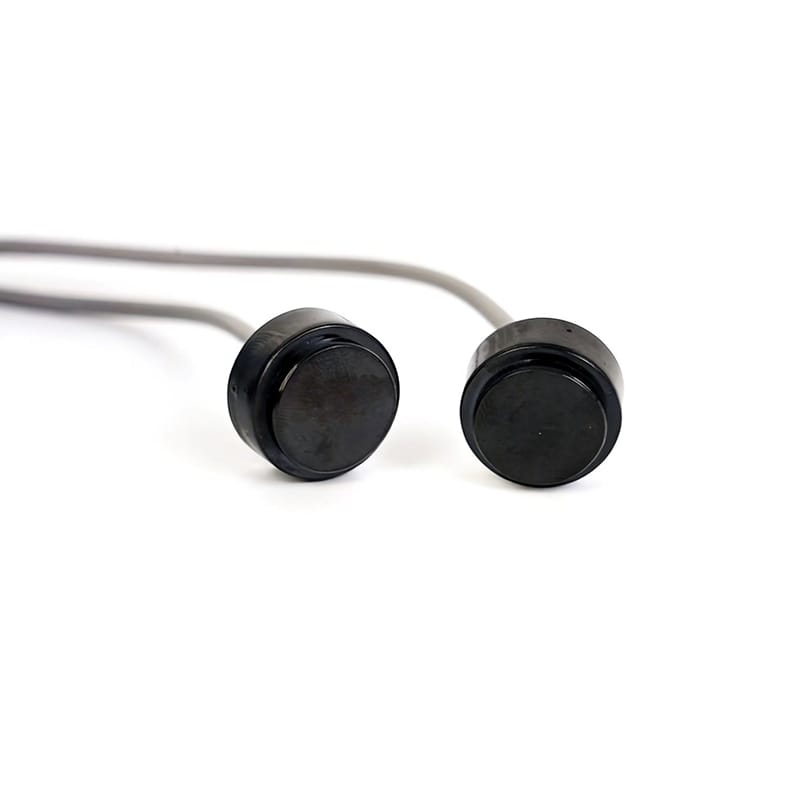
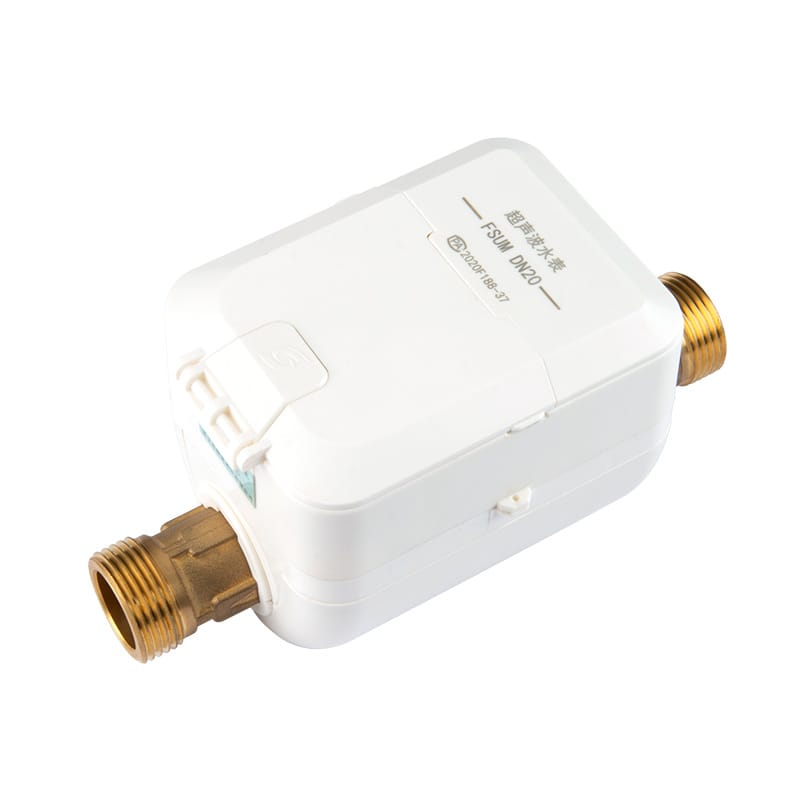
Dingjia options supporting “Audit Entered Pipe Data” include the ultrasonic transducer for “Confirm the Process State”, meter-specific transducer for “Audit Entered Pipe Data”, discuss the application for “Inspect Transducer Orientation and Spacing”, ultrasonic flow meter for “Renew Surface Preparation and Coupling”. For “Audit Entered Pipe Data,” send operating conditions and interface requirements to the engineering team before selection. The inquiry should also assign responsibility for “Read Diagnostics, Not Only Flow” and “Investigate Bubbles, Solids and Lining.”